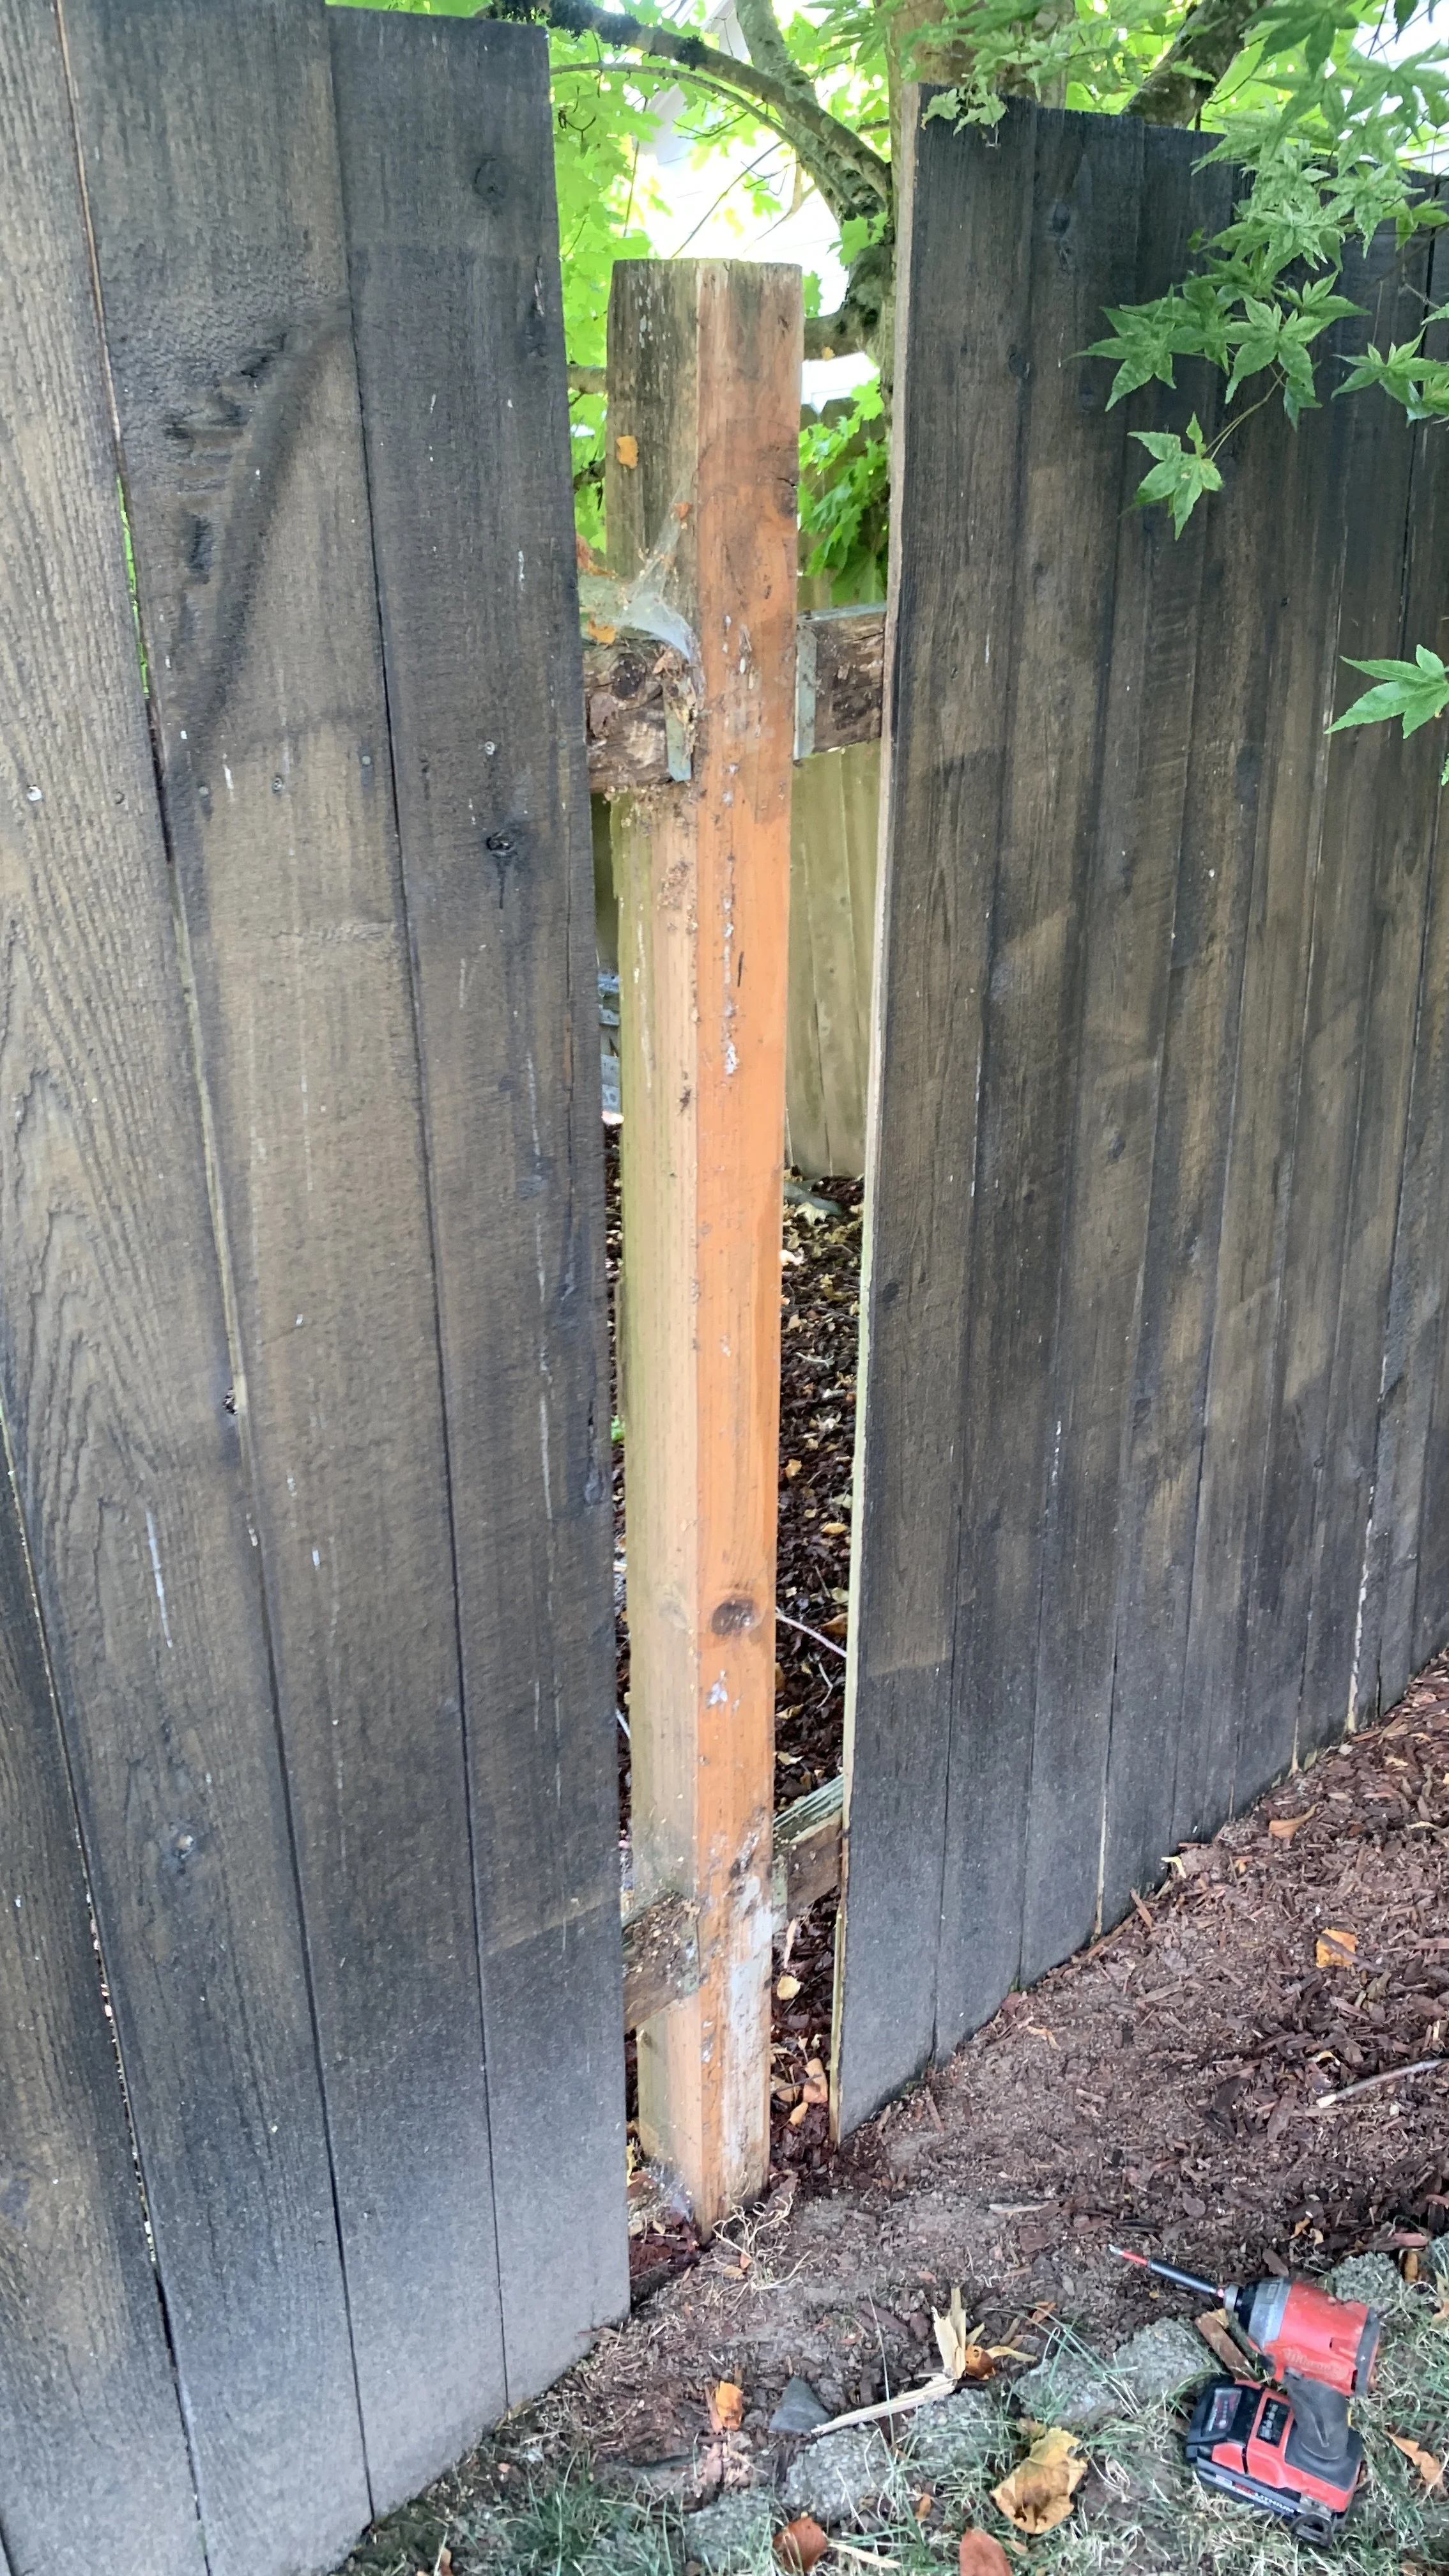
Swapping a fence post can seem daunting, but with the right tools and knowledge, it can be done quickly and easily. Here are the steps to swap a fence post:
Remove the old post: Start by removing the old post from the ground. Depending on how it was installed, this could involve digging it out or using a saw to cut it off at ground level.
Prepare the new post: Make sure the new post is the same size and length as the old one. If necessary, trim it down to size. Also, make sure that the end of the post that will be buried in the ground is treated with a wood preservative to protect against rot.
Dig the new hole: Dig a new hole for the post in the same location as the old one. The hole should be deep enough to bury about a third of the post.
Install the new post: Place the new post in the hole and make sure it's level. Use a level to check it from different angles. Then, fill in the hole with concrete and pack it down firmly.
Attach the fence: Once the new post is in place, you can reattach the fence to it. Use screws or nails to secure the fence to the post.
That's it! With these simple steps, we can easily swap a fence post and ensure that your fence is sturdy and secure for years to come.


